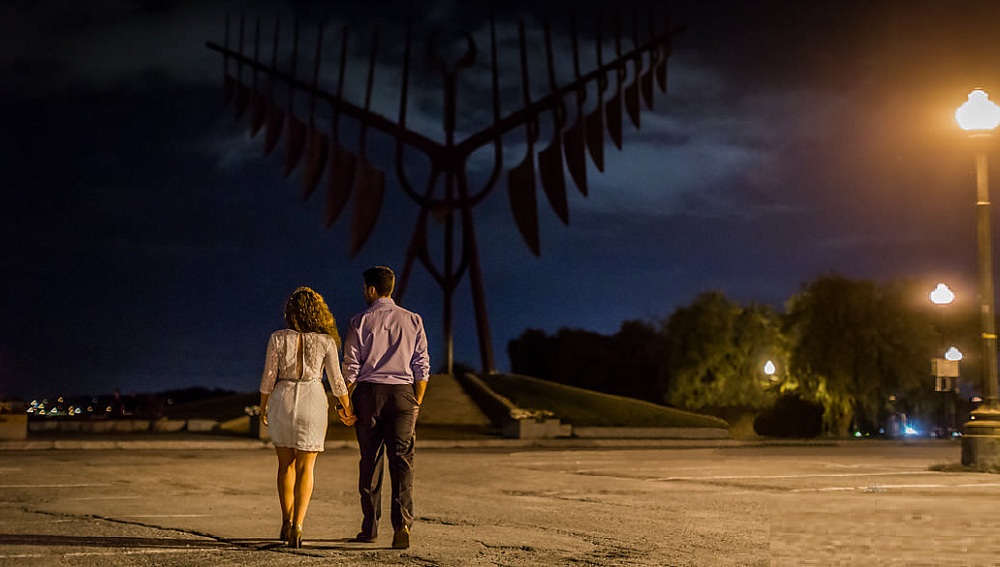
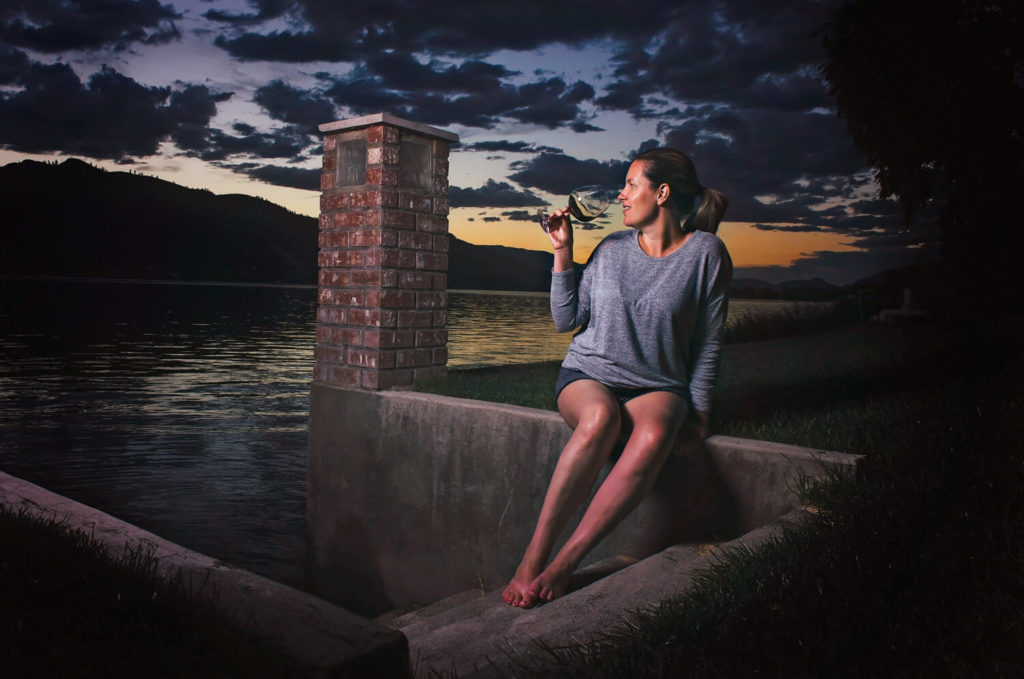
The nightlife is exciting as well as energetic in every way and photography has not been left behind. More and more photographers are exploring night photography and are producing artistic photos worth exhibiting even in art galleries. So how do you go about this activity, taking into consideration the darkness and atmosphere characterized when the night comes? Below are some tips to help you set up and get quality pictures.
Carry the right tools.
To be able to take amazing photos, especially at night, you must have the proper equipment for the job at hand. Some of the tools can include:
- A lens hood is crucial because it reduces the glare of unwanted light from the frame of the subject.
- A tripod stand: Many photographers prefer working without using a tripod, but it brings flexibility along steadying the camera when you need prolonged exposure to an image.
- A flashlight comes in handy when you need to bring to attention a specific part of the subject that may be too dark.
Use lenses with a high aperture.
Aperture refers to the depth of field in a photo. The depth of field is determined by the amount of light let in through the lenses. At night, make sure to open up your lenses so that they can absorb any surrounding light and produce clear, sharp images. As you ready your equipment, set the aperture to maximum then adjust from there depending on the landscape as well as the subject. Not all scenarios require you to use wide set lenses, but it is always good to have the option. Be sure to purchase wide-angle lenses because they help with the aperture setting.
Pick the right shutter speed.
If the subject is not stationary but a moving object, the fast shutter speed will enable you to freeze the picture and capture it. It is crucial to get the shutter speed just right because if it is too high, it will result in darkened images which are not desirable. A short shutter speed allows you to get an accurate resolution of the moving subject. The images taken will be easy when it comes to photo retouching services.
Adjust the ISO of your camera lenses.
The ISO measures how sensitive the sensors of your lenses are to light. The ISO setting used on a sunny day or a brightly lit room will not be the same when you are shooting in the night. When exploring the nightlife with photography, be sure to reduce the ISO number to get excellent results. The photos come at clear and well captured.
Master White balance.
White balance refers to neutralizing colors in your photographs. Adjust the lenses so that they capture the color of the images as they are. Even in the darkness, make sure to get the predominant colors of the subject. The images should not be too toned down or exaggerated but should look the same as the way the image is seen with the naked eye.
Condition your camera to your environment.
Your environment will either work for you or against you when you are out on the field, even at night. Any change in temperature or humidity can undermine your work and also cost you your equipment. If the temperature at night is hot, this can cause the apparatus to heat up resulting in poor images. Similarly, if it is foggy out, the lenses can become moist, and the effect will be blurry photos. Make sure that to adjust your tools to your surrounding so that the session is not hampered. You can keep your gear in a similar environment like the one where the shooting will occur so that it adjusts to those conditions.
Have extra backup power.
You do not want to go for a photo session at night only for your camera and other equipment to die off. Long exposure sessions can drain the batteries of your camera. Different weather conditions may also take a toll on the equipment you are using. Before going out in the night, carry enough backup power for your cameras and any other electronic gear you have with you. Be sure that your tools are protected from the effects of climate conditions that you may encounter. A portable generator may also be of use if you are shooting at night and in remote areas.


