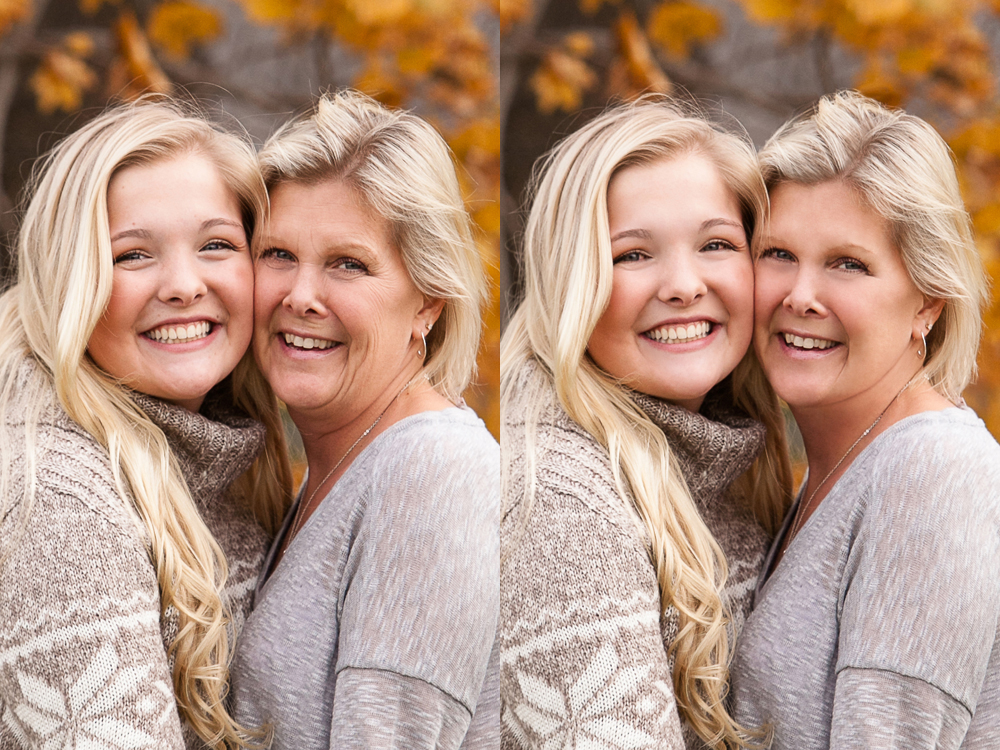
Shoot in RAW Format
Shooting your images in raw will give you much more editing flexibility later in the process. It packs every pixel of your photo with information about light, color, and tone. You can edit your raw image in the ACR editor before you take it into Photoshop. This allows you to set your exposure, balance shadows through contrast adjustments, choose vibrancy and temperature to get the colors that you want, and draw gradients to selectively manipulate these variables in different parts of the image. When you go into Photoshop Photo retouching services to start editing proper, you’ll have something much closer to the image that you want. That’s a huge leg up for any professional in digital retouching.
Dodge And Burn
Dodge and burn is an important retouching technique that’s difficult to use well. The key is a basic rule familiar to any makeup artist – don’t overdo it. Set your opacity low – 10% at the very most – and use a white brush for dodging and a black brush for burning. Then, use those tools to carefully and judiciously emphasize or soften shadows and highlights on your model. Remember: don’t overdo it. Subtlety is the name of the game here, and will help maintain a natural look. If you overuse or abuse dodge and burn, that natural quality will be lost, and your model will look like they’ve had matte slathered on them by an amateur cosmetologist.
Read More: – What are the Career Options available for Photo Retouching Professionals?
Frequency Separation
Frequency separation is simpler than it sounds. It’s a method that separates out textures onto one layer and tone and color onto another layer. With frequency separation, you can easily edit one or the other. This allows you to edit the shades of someone’s skin without altering the texture or details. You can also smooth over wrinkles or pimples without disrupting a carefully chosen color scheme.
Inversion High Pass
IHP, like dodge and burn, is an important technique that can easily be overused. In a new layer, turn on high pass and set up a Gaussian blur. Then black out the mask and paint it back in with low opacity over areas you want to retouch. IHP works particularly well for grease spots, makeup mistakes and other blemishes. It can also make hair look glossier. Overused, it’ll leave an ugly halo around strands of hair and obscure skin details you want to preserve. IHP is best used sparingly as a supplement to dodge and burn when you need a tool to quickly retouch a spot or two.
Solar Curve
This is a helpful last step to grab any lingering hairs, spots, or other holdout artifacts before you export your image. Create a solar curve layer, create a couple different points, and manipulate them – the effect is like an old CRT monitor degaussing and, amidst the changing colors, will reveal the blemishes that you’re looking to edit out. Go in with a soft healing brush set to sample from the layer below, and hunt down those stray details. Clone sparingly and carefully – you should sample in the immediate area of the detail you’re trying to erase. When you think you’ve got everything, drag those points one more time to be sure before deleting the solar curve layer. This trick will help you to achieve the attention to detail and blemish-free photographs that are the hallmarks of a professional retoucher.
Are you new to product photo retouching services and looking for photo retouching services? Having a photo retouching specialist work on your photos brings multifold value to the subject. We offer various photo retouching services. We at Digi5Studios specialize in Product photo retouching, Beauty retouching, Fashion photo retouching, Automobile photo retouching , Real Estate retouching, and Clipping Path Services.

